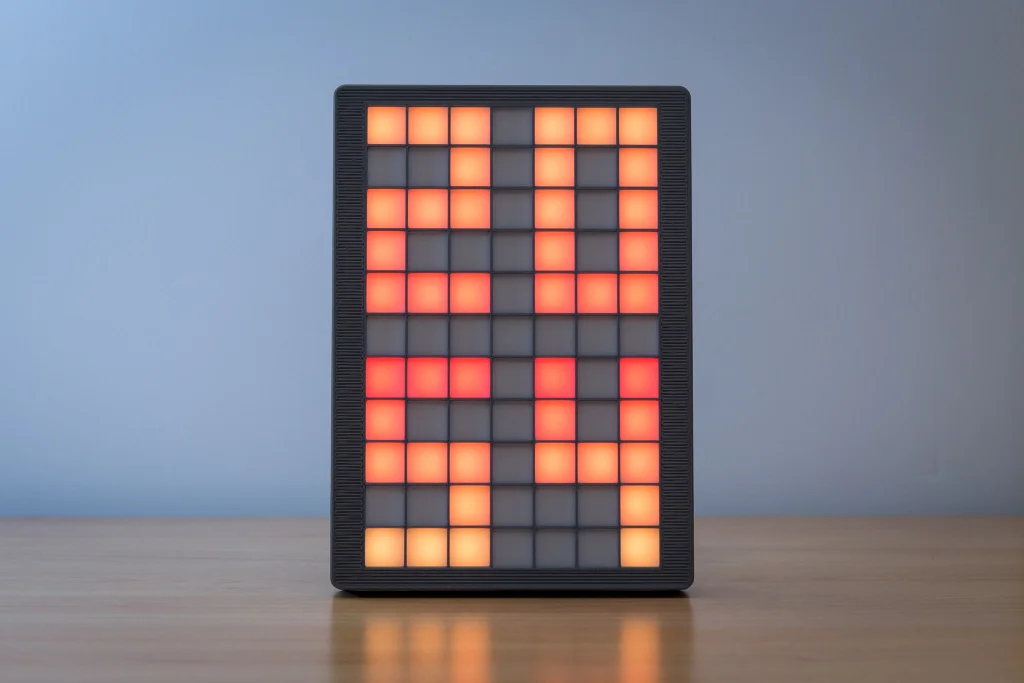
Vítejte u LGCv2, matice 7×11 LED využívající jeden LED pásek.
Aktualizace – 2021/11/18
K dispozici je náčrt v7. Doporučuji také podívat se na poznámky o elektronice při stavbě některého z mých projektů!
https://www.instructables.com/ClockSketch-V7-Part-I
Aktualizace – 2020/06/02
Přidán návrh náčrtu v6, který lze zkompilovat pro nodeMCU/ESP8266. Byl přidán do kroku 6. Pro podrobnosti/informace se prosím podívejte na krok 11 z mého S7ripClock.
Myšlenka za tímto projektem byla vyhnout se pájení více LED pásků, jako je tomu u klasické matice. Aby to fungovalo, je zde „promarněno“ 6 LED, ale stavba mřížky je tak mnohem rychlejší.
V zásadě se jedná o to samé jako můj předchozí Lazy Grid Clock – nyní je konečně aktualizován, aby poskytl jednodušší stavbu a využil méně materiálů, jako jsou šrouby. Protože existují některé remixy/modifikace, zachoval jsem orientaci/počáteční bod mřížky, takže náčrty lze použít na LGCv1 i v2.
Arduino náčrt je založen na S7ripClock. Takže i když to vypadá trochu jinak, pokyny/funkce z videa jsou platné i pro tento projekt.
Pokud hledáte větší mřížku a nevadí vám pájení, můžete se podívat na můj „Grid Clock v2“: https://www.thingiverse.com/thing:3433644
Step 1: STL Files and Printing Instructions

Walls are always multiples of 0.5mm, so I strongly suggest using and extrusion width/line width of 0.5mm (no, not recommending a 0.5mm nozzle here!).
At 60mm/s (everything, including outlines/solid infill) it takes about 7.5 hours to print all the parts needed. There’s no tricky parts like steep overhangs or bridging, no needs for supports, so it is a fairly easy print.
Some parts only have a single retract per layer (diff grid), others do have some specific cuts within their first 1-2 layers. This is to make printing even easier by avoiding dozens of retracts on the first layer.
The biggest part is 199.0mm x 142.0mm x 23.50mm so it should be printable on common models without trouble.
Recommended print settings:
0.25mm layer height
0.50mm extrusion width/line width
2 shells/perimeters
Attachments
- LGCv2_Case.stlDownloadView in 3D
- LGCv2_Diff-Grid.stlDownloadView in 3D
- LGCv2_LED-Grid.stlDownloadView in 3D
- LGCv2_Cover.stlDownloadView in 3D
- LGCv2_Elec-Case.stlDownloadView in 3D
- LGCv2_Elec-Covers.stlDownloadView in 3D
- LGCv2_Stand.stlDownloadView in 3D
Step 2: Overview / Notes
Most of the documentation will be pictures only. This is using the same electronics as my “S7ripClock” and this is very close to the old “Lazy Grid Clock”. I strongly recommend having a look at the S7ripClock when building this, I’ve reused the electronics from that one for the purpose of the pictures here… Schematics are exactly the same, only difference being the electronics case mirrored on the LGCv2.
https://www.instructables.com/id/S7ripClock-Basic-…
https://www.thingiverse.com/parallyze/designs
Note:
If you have a close look at the pictures later you’ll notice I haven’t connected the Arduino to the LED strip. That’s because I’ve published quite some things so far and don’t want to waste an Arduino on each just for taking the pictures.
Step 3: Required Parts


3D printed parts:
LGCv2_Case.STL
LGCv2_Cover.STL
LGCv2_Diff-Grid.STL
LGCv2_Elec-Case.STL (2x button bars included)
LGCv2_Elec-Covers.STL (2x cable covers included)
LGCv2_LED-Grid.STL
LGCv2_Stand.STL
= 11 parts total
I recommend printing all except the case/stand using black material to avoid light leaks. The case can be printed from a different color but it should be a opaque one (I chose silver/anthracite).
Other parts:
1x Arduino Pro Mini (5v, 328p) or Arduino Nano
83x WS2812B LEDs, 60/meter strips, 5V, each led individually addressable, 10mm wide(IP65/67, coated/rubberized ones do not fit!)
1x DS3231 RTC module (ZS-042, DS3231 for Pi or similar)
2x 6x6mm push buttons (button length doesn’t really matter, 3-6mm will work well)
1x USB cable / USB Wall Charger (500mA min, 1A recommended)
5x M3 screws (length 8mm – 12mm, doesn’t really matter. 8mm recommended)
Some wires (AWG 26 min. recommended)
2x 120mm x 188mm diffusive material (I’ve been using Folex Ink Jet Film, very thin paper or similar will work also)
You will need a working Arduino IDE to upload the sketch. Also you should know about the difference between compiling and uploading a sketch or installing the required libraries. If you’re completely new to leds/arduino I recommend working through something like Adafruits Neopixel Guide first.
Notes:
The sketch is using the FastLED library. So other LEDs can be used but this instructable will not include such modifications. Same goes for using an ESP8266 without logic level shifters and WS2812B.
For RTC communications the DS3232 library by JChristensen is used. So other models are supported (DS1307), I just didn’t come across one without massive drift yet… ^^
Step 4: Building the Grid


2 More Images
Orientation is important. So keep an eye for the “x” inside the case, which marks the lower right corner/data in when building this.
When finished and seen from the front this will be x/y 0,0 in the lower left corner.
Start with the led strip/data in as shown. Note the fins on the led frame, there is none on the top of the part.
I highly recommend not pre-cutting a piece of 83 leds. Check where you have to bend the strip and make sure there’s no solder joints exactly there.
Add three wires to the start of the strip (+5V / red, GND / black, Data In / green). The USB/power wire is connected to the end of the strip.
Step 5: Assembly


5 More Images
Now it’s time to assemble all the parts…
Start by placing the first sheet of diffusive material inside the case and putting the diffuser grid on top, orientation doesn’t matter on this one.
Next add the second sheet and put the led grid on top of it. Make sure the fins slide in properly, data in is in the lower right corner and that’s where the “x” inside the frame is located.
Route wires as shown (upper left screw hole has thinner walls to extend space for usb wire) and put the cover on (“x” on the right side).
Note:
After taking all the pictures I decided to modify the cable covers a bit. They’re now less obstrusive and orientation should be more obvious.